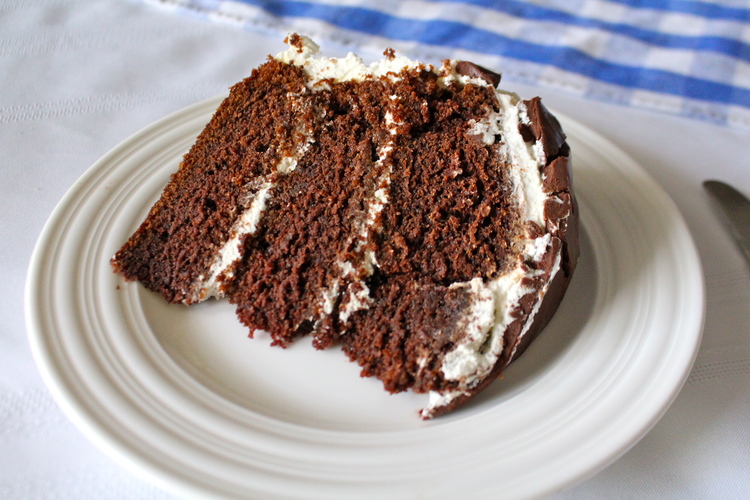
Chocolate Tuxedo Cake
"Let them eat cake" is an adage I wholeheartedly support and abide by. You should too. Especially if it involves this glorious, glorious cake. This cake is the cake of dreams. I've been told by several people that this cake was actually the best cake they've ever had, and for good reason.
Now, that could be because of the ridiculously moist layers of cake, or because it's covered in light, sweet whipped cream. However, I'm putting my money on the ganache. If you've followed my blog for a hot minute you'd know that I have a weird addiction to things covered in ganache. I could be addicted to worse things, right? Ganache is such a wonderful thing, and this cake has it lusciously dripping down the sides of it. Almost as if it's reaching out to you asking you to devour it.
This cake came from my mother's arsenal of cakes and other baked goods. I unfortunately don't know where the original recipe came from, but I've adjusted it a bit along the way. Mostly editing the ganache to fit my ganache standards.
- 4 cups granulated sugar
- 1 cup unsweetened cocoa powder
- 4 cups all-purpose flour
- 1 tbsp baking soda
- 1/2 tsp salt
- 1 cup buttermilk
- 1 tbsp vanilla extract
- 1 cup (2 sticks) unsalted butter
- 1 cup canola or vegetable oil
- 2 cups water
- 4 large eggs
- WHIPPED CREAM FROSTING
- 4 cups heavy whipping cream
- 1-1/4 cups powdered sugar
- GANACHE
- 10 oz (2 cups) bittersweet chocolate chopped
- 1 cup heavy whipping cream